
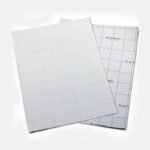
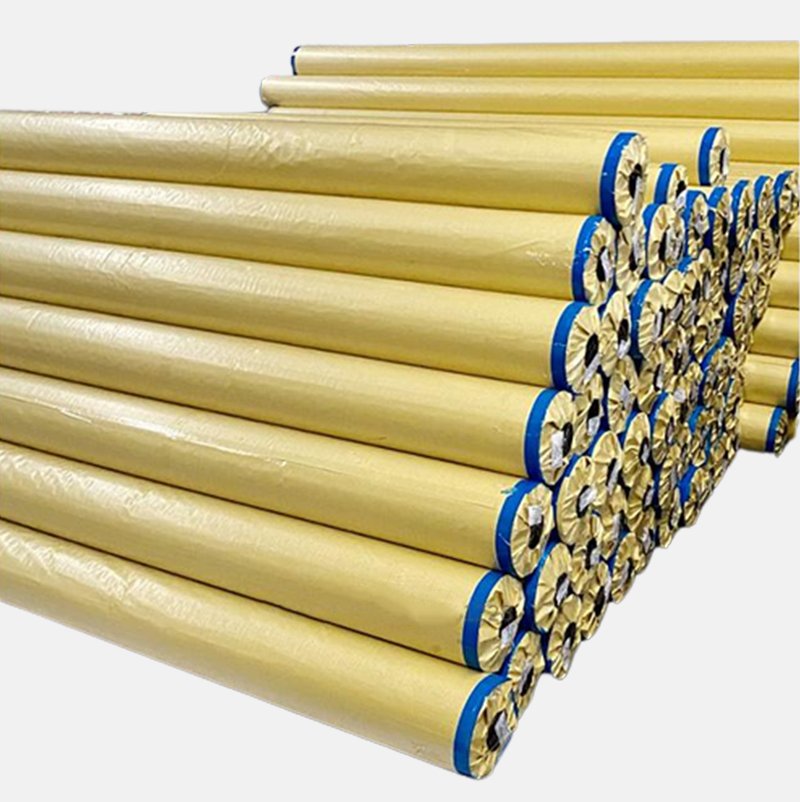
Transfer Paper (Light)
₵5.00
Light transfer paper, also known as light fabric transfer paper, is a type of special paper used for transferring images or designs onto light-colored fabrics or surfaces. This transfer paper is commonly used in crafting and DIY projects to create custom t-shirts, tote bags, and other fabric items with personalized designs.
Price is based on Sheets.
Description
Here’s how light transfer paper typically works:
- Design Creation: Create or choose the design or image you want to transfer onto the fabric using graphic design software or by hand-drawing it.
- Printing: Print the design onto the light transfer paper using an inkjet printer. Make sure to follow the manufacturer’s instructions for your specific transfer paper, as printing settings may vary.
- Preparation: Trim or cut the printed design, leaving a small border if necessary. Ensure that the design is the mirror image of what you want to appear on the fabric.
- Fabric Preparation: Prepare the fabric you want to transfer the design onto by making sure it’s clean and wrinkle-free. It’s essential to use light-colored fabrics for light transfer paper, as the design won’t show up well on dark fabrics.
- Transfer Process: Place the printed transfer paper face down onto the fabric where you want the design to appear. Apply heat to the back of the paper using an iron or a heat press machine. Follow the recommended temperature and time settings provided by the transfer paper manufacturer.
- Cooling and Peeling: After applying heat, allow the transfer to cool down for a few seconds or as per the instructions. Then, carefully peel off the transfer paper to reveal the transferred design on the fabric.
- Finishing: Some transfer papers may recommend further steps, such as covering the transferred design with a protective sheet and applying additional heat for durability.
It’s important to note that light transfer paper is designed for use with light-colored fabrics only. If you want to transfer designs onto dark-colored fabrics, you would need to use dark transfer paper, which typically involves a different printing process that includes a white base layer to ensure the design stands out on dark backgrounds.
Reviews (0)
Shipping & Delivery

Related products
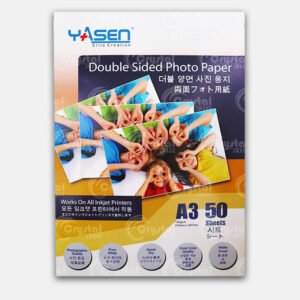
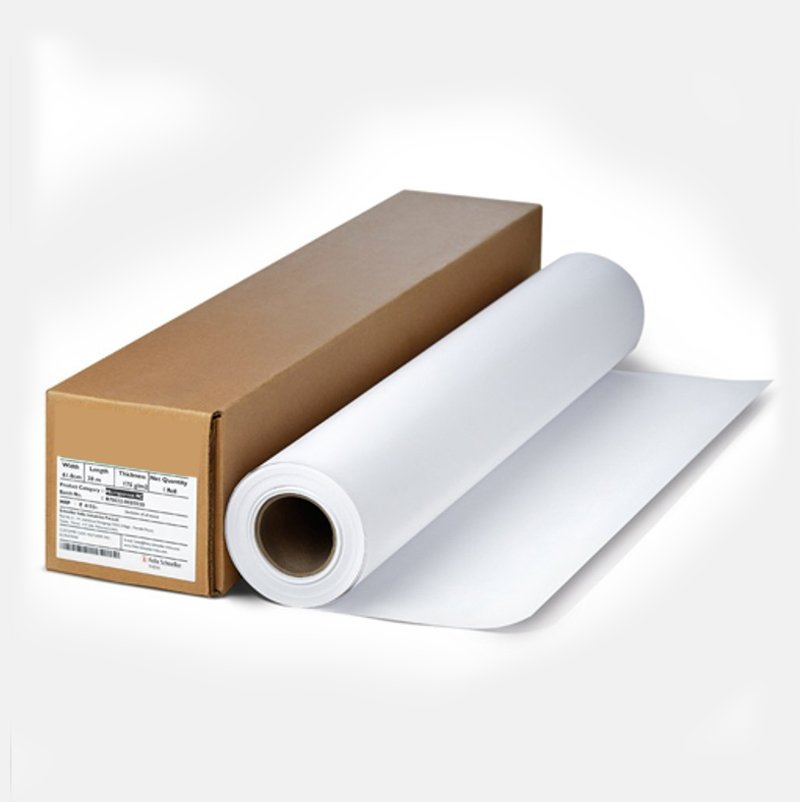
A3 Photopaper (Double Side)
Price range: ₵75.00 through ₵85.00
Select options
This product has multiple variants. The options may be chosen on the product page
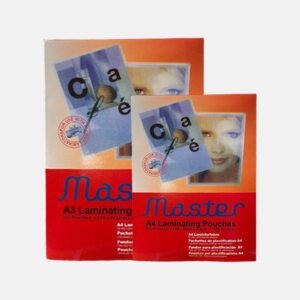
Lamination Pouch Film
Price range: ₵130.00 through ₵260.00
Select options
This product has multiple variants. The options may be chosen on the product page


Reviews
There are no reviews yet.